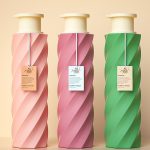
A Comprehensive Guide to Water Transfer Printing in Cosmetics Packaging: Techniques and Quality Checks
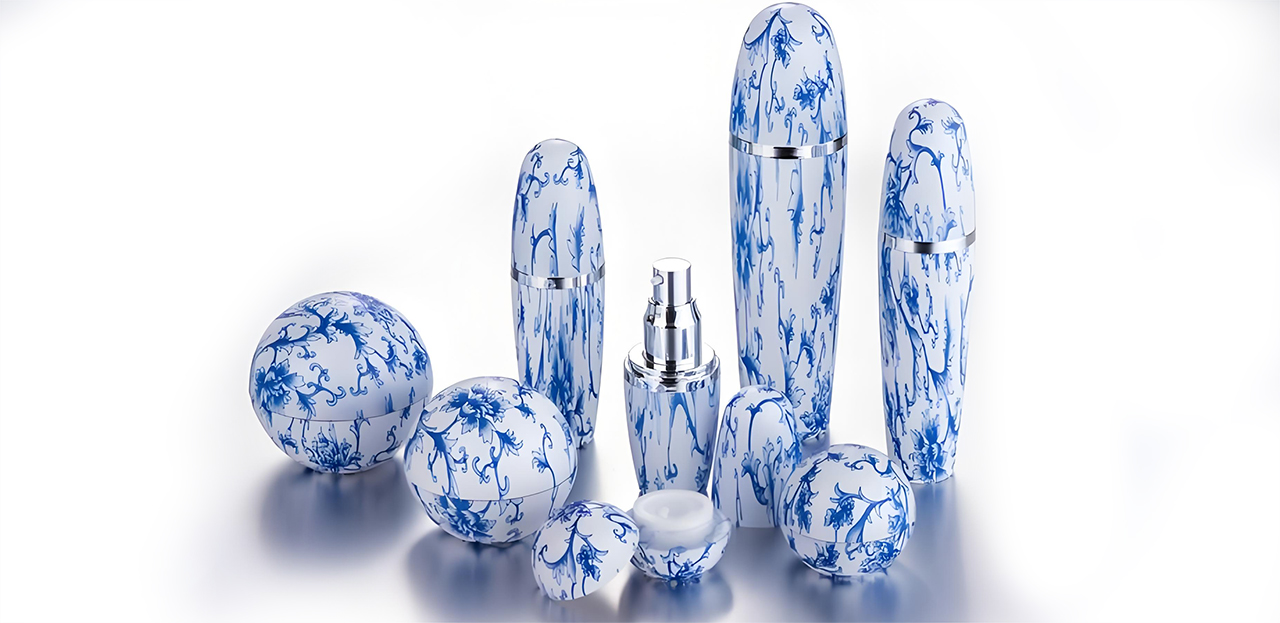
Water transfer printing (WTP) is an advanced printing technique used extensively in various industries, particularly in cosmetics packaging. This method involves transferring intricate designs to three-dimensional surfaces using a water-soluble film, making it a favored choice for creating eye-catching, high-quality cosmetic packaging.
In this article, we’ll take a deep dive into the technical aspects of water transfer printing and provide insights on how to effectively check the quality of printed designs to ensure durability and aesthetic appeal.
Outline
The Water Transfer Printing Process: How Does It Work?
Water transfer printing involves several stages that require precision and expertise. Here’s a breakdown of the key steps involved in the process:
1. Preparation of the Object
The first step in the water transfer printing process is the preparation of the object that will receive the design. This object could be made from various materials commonly used in cosmetic packaging, such as glass, plastic, or metal. The surface of the object must be cleaned thoroughly to remove any dirt, dust, or grease, as these contaminants can affect the adhesion of the design.
2. Printing the Design on the Film
Once the object is prepared, a design is printed onto a special water-soluble film. The film is coated with a layer of ink, usually using a silk-screen printing method. The design can be customized with intricate patterns, logos, or graphics that will later be transferred onto the object.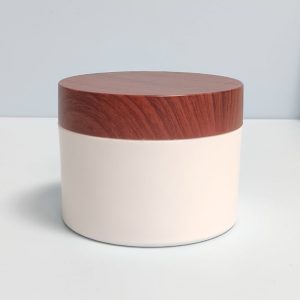
3. Activation of the Film
After the design is printed, the film is placed on the surface of a water-filled tank. The water causes the film to activate, turning it into a floating, flexible layer. This step is critical because the film must be in perfect condition for the design to transfer smoothly to the object.
4. Submerging the Object
At this point, the object is carefully submerged into the water, causing the design to wrap around it. The film gently conforms to the shape of the object, adhering to its surface. This is where water transfer printing stands out — it can transfer designs onto complex, irregularly shaped surfaces, such as the contours of a cosmetic bottle or a cap, that are challenging to print using traditional methods.
5. Drying and Curing
After the design has been transferred, the object must be left to dry. In many cases, a protective layer, often a clear coat or varnish, is applied to seal the design and enhance its durability. This coating is crucial to ensuring that the print withstands everyday handling and environmental factors, such as exposure to water, sunlight, and temperature changes.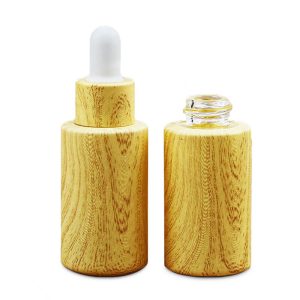
6. Final Inspection
Finally, after the drying and curing process, the object undergoes a thorough inspection to ensure that the design has adhered properly and that there are no defects, such as smudging or color inconsistencies. This is where the quality control process comes in.
Key Techniques for Ensuring High-Quality Water Transfer Printing
Achieving high-quality water transfer printing requires precision at every stage of the process. Here are some technical factors to consider to ensure that the final result meets the standards for cosmetic packaging.<
1. Film Quality and Compatibility
The quality of the water-soluble film plays a significant role in the final outcome. Low-quality films may cause uneven transfers, or the design may not adhere well to the object’s surface. It’s important to choose a film that is compatible with the material of the object being printed. Some films may be better suited for glass, while others may work better with plastic or metal. Conducting tests before mass production is essential to verify film compatibility.
2. Ink Quality and Printing Precision
The ink used for printing designs on the film must be of high quality to ensure the colors are vibrant and true to the original design. The precision of the printing process is equally important, as slight misalignments in the printed design can lead to a poor final result. Ink and printing quality should be checked regularly to avoid inconsistencies in color or detail.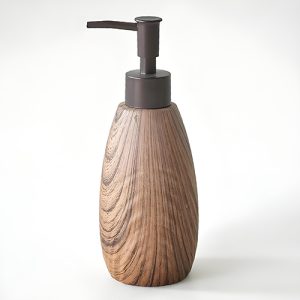
3. Water Temperature and pH Levels
The water temperature and pH levels in the tank must be carefully controlled. Too hot or too cold water can affect how well the film adheres to the object, leading to defects such as wrinkles or incomplete designs. Similarly, the pH level of the water should be balanced. Highly acidic or alkaline water can damage the film or cause poor adhesion, resulting in poor-quality prints.
4. Submersion Time
The timing of the submersion process is also critical. The object should be submerged in the water just long enough for the film to transfer without dissolving. If submerged for too long, the design could lose its sharpness or become distorted. Consistency in this step is key to maintaining high-quality prints.
5. Post-Printing Coating
A high-quality protective coating must be applied after the transfer to ensure the longevity of the print. This coating can help prevent fading, scratching, and other forms of wear. The coating should be tested for its resistance to environmental factors such as UV light, moisture, and chemicals found in cosmetics, as these can all affect the print’s appearance over time.
How to Inspect Water Transfer Printing Quality
Once the water transfer printing process is complete, a thorough inspection is necessary to ensure the quality of the print. Below are some key factors to check during the inspection phase:
1. Adhesion and Coverage
The first thing to check is the adhesion of the design to the object. The design should adhere firmly to the surface without lifting or peeling off at the edges. Check for complete coverage of the object, ensuring that no areas are left unprinted or have visible gaps in the design. The film should have fully conformed to the surface without any wrinkles or air bubbles.
2. Design Consistency
Ensure that the printed design is consistent in color and detail. Any color fading, smudging, or misalignment could indicate issues with the printing or activation process. It’s essential to compare the final print with the original design to verify accuracy.
3. Surface Imperfections
Inspect the object for any surface imperfections, such as cracks, scratches, or dents, which could affect the print’s appearance. The surface should be smooth and free of any damage before the printing process begins. Post-printing defects may also occur, so ensure the protective coating is intact and even across the entire surface.
4. Durability Testing
Perform durability tests to ensure that the print will withstand real-world usage. This could involve testing the print’s resistance to moisture, chemicals, UV light, and physical abrasion. Simulating the cosmetic product’s typical usage conditions will give you an idea of how well the print will hold up over time.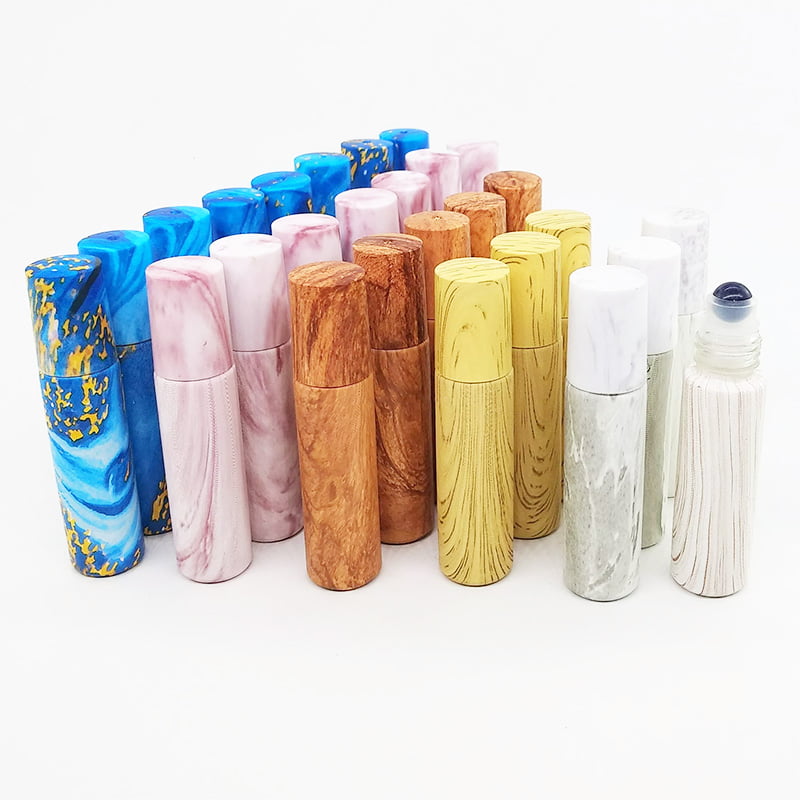
5. Scratch and Smudge Resistance
One final check is to evaluate the scratch and smudge resistance of the print. Gently rub or scratch the surface of the printed design to check if any ink or coating comes off. A good quality water transfer print should remain intact under light to moderate abrasion.
Conclusion
Water transfer printing is a versatile and highly effective technique for decorating cosmetic packaging, but achieving the best results requires attention to detail and precise control over the process. By focusing on factors like film quality, ink precision, water temperature, and post-printing coating, you can ensure that your designs not only look stunning but also stand the test of time.
Regular quality checks throughout the production process are essential to guarantee that the prints meet the highest standards of durability and aesthetic appeal. By following these technical guidelines and inspection methods, cosmetic brands can create packaging that not only looks beautiful but also performs exceptionally well over its lifespan.
